Why Use Inadine on a Wound
Inadine Dressing is used on wounds for several key reasons:
- Antimicrobial Properties: Inadine contains iodine, which has broad-spectrum antimicrobial activity that helps reduce the risk of infection.
- Moisture Retention: The dressing maintains a moist environment, which is conducive to healing and can help promote granulation tissue formation.
- Debridement: Inadine can assist in the gentle removal of non-viable tissue and debris from the wound, helping to keep it clean.
- Pain Reduction: The dressing may provide a soothing effect, helping to reduce discomfort associated with the wound.
- Versatility: It can be used on various types of wounds, including surgical sites, chronic wounds, and minor abrasions.
Using Inadine as part of wound care can enhance healing and minimize complications. Always follow healthcare advice for specific wound management needs.
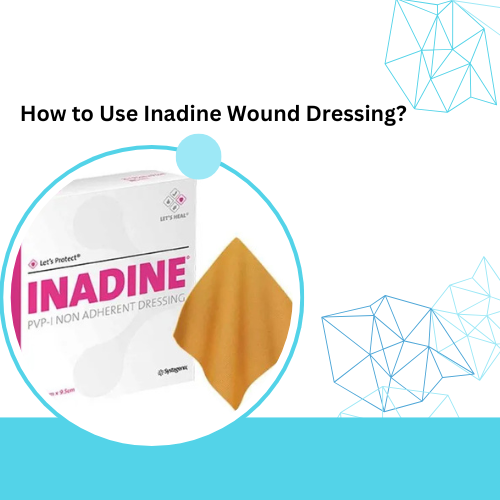
How To Use Inadine Wound Dressing?
Using Inadine wound dressing involves several steps to ensure proper application and effectiveness. Here’s a general guide:
1. Gather Supplies
– Inadine dressing
– Sterile gloves
– Saline or wound cleanser (if needed)
– Scissors (if trimming is necessary)
– Gauze or additional dressings (if required)
2. Prepare the Wound
– Wash Hands: Start by thoroughly washing your hands with soap and water or using hand sanitizer.
– Clean the Wound: If needed, gently clean the wound with saline or a wound cleanser to remove debris and contaminants.
3. Apply Inadine
– Cut to Size: If necessary, trim the Inadine dressing to fit the wound appropriately. It should extend slightly beyond the wound edges.
– Apply the Dressing: Place the Inadine side directly on the wound. Ensure it covers the entire wound surface.
4. Secure the Dressing
– If the dressing is not self-adhesive, use gauze or medical tape to secure it in place.
5. Monitor and Change
– Check Regularly: Inspect the dressing daily for signs of infection or saturation.
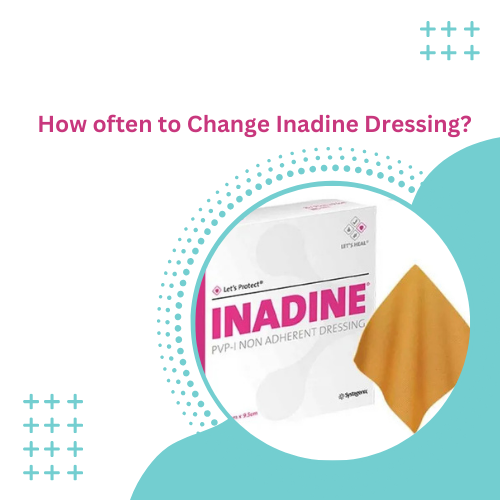
– Change as Needed: Replace the dressing if it becomes wet, soiled, or as directed by a healthcare provider. Typically, Inadine can stay in place for several days, depending on the wound condition.
6. Dispose Properly
– Dispose of used dressings and gloves in a biohazard bag or according to local guidelines.
7. Follow-Up
– Keep an eye on the wound for any signs of infection and consult a healthcare professional if concerns arise.
Always follow specific instructions provided by a healthcare provider for your individual situation.
What Does Inadine Do To A Wound?
Inadine dressing performs several important functions for wound care:
1. Antimicrobial Action: The iodine in Inadine has broad-spectrum antimicrobial properties, helping to reduce the risk of infection by killing bacteria and other pathogens.
2. Moisture Management: It maintains a moist environment at the wound site, which is essential for optimal healing and can help promote the formation of granulation tissue.
3. Debridement Support: Inadine can assist in the gentle removal of non-viable tissue and debris, which is crucial for preventing infection and promoting healing.
4. Pain Relief: The dressing can provide a soothing effect, helping to minimize discomfort at the wound site.
5. Barrier Function: It acts as a physical barrier, protecting the wound from external contaminants and further injury.
6. Promotes Healing: By maintaining moisture and preventing infection, Inadine helps facilitate the natural healing process of the wound.
Overall, Inadine is designed to create an optimal environment for wound healing while actively managing infection risks. Always follow healthcare provider recommendations for specific use cases.
How to Remove Inadine Dressing?
Removing an Inadine dressing should be done carefully to minimize discomfort and avoid disrupting the healing process. Here’s a step-by-step guide:
1. Gather Supplies
– Sterile gloves
– Saline or wound cleanser (optional)
– Scissors (if needed)
2. Prepare
– Wash Hands: Start by thoroughly washing your hands with soap and water or using hand sanitizer.
– Wear Gloves: Put on sterile gloves to maintain a clean environment.
3. Moisten the Dressing (if needed)
– If the dressing is adherent, you may want to moisten it with saline or a wound cleanser. This can help loosen the dressing and reduce pain during removal.
4. Gently Peel Back the Dressing
– Starting at one corner, gently lift the edge of the Inadine dressing. Use a slow, steady motion to peel it back from the wound.
– If you encounter resistance, add more saline or wound cleanser to further moisten the dressing.
5. Assess the Wound
– Once the dressing is removed, inspect the wound for any signs of infection, such as increased redness, swelling, or discharge.
6. Clean the Wound
– Clean the wound as necessary with saline or a recommended cleanser to remove any debris or exudate.
7. Dispose Properly
– Dispose of the used dressing and gloves in a biohazard bag or according to local guidelines.
8. Apply a New Dressing
– If required, apply a new Inadine dressing or another suitable wound dressing as directed by a healthcare provider.
9. Follow-Up
– Monitor the wound for any changes and consult a healthcare professional if you have concerns.
Always consult with a healthcare provider for specific instructions tailored to your situation.
Where can I buy Inadine Dressings?


